TB.One > Product and Article Data > Clusters and Internal Categories > Clusters > Creating and Configuring Clusters
Creating and Configuring Clusters
CREATING CLUSTERS
Navigate to "Basic data > Classification > Cluster" to access the cluster menu. If you have not created any clusters yet, the list of clusters will be empty. Open the tab "Pages" in the left navigation bar and click on "New assignment" to create a new cluster. This will open the editing window, where you can enter an import key (=main designation and import reference) and a description text of your choice.
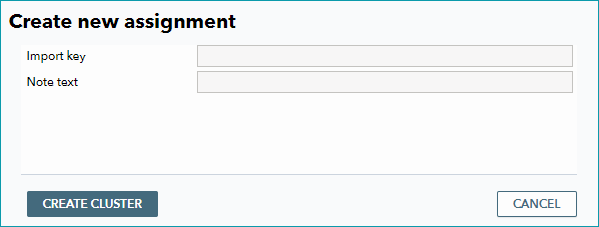
You may either use numbers or short descriptive phrases for your import keys. Once you have defined an import key (and, optionally, a note text), click on "Create entry" to add the cluster to your list.
ATTENTION: Clusters can be used to map products to channel specifications. Your clusters should be as detailed and granular as possible. This will enable you to map your products to (hierarchically) deep channel categories. Generally, uniform data maintenance is recommended. Decide whether to map your products to the channels manually, automated via import or via clusters. Using multiple options can quickly become confusing and result in undefined data states. |
CONFIGURING CLUSTERS
Click on a cluster in the list at "Basic data > Classification > Cluster", to open the configuration options in the menu on the right. It is not mandatory to configure clusters. Before configuring clusters, make sure to read the page "Internal Categories vs. Clusters" to avoid overlap. If you choose to import your product data, you may provide the respective information individually in separate columns (CSV-Import) or in the respective nodes (XML/TB.Cat).
In the page's bottom left section, the clusters are displayed - either according to your filter settings or unfiltered.
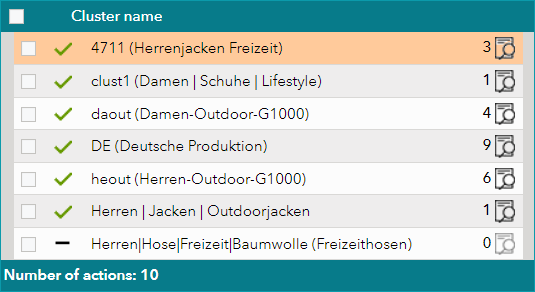
The icon on the left of each row shows, whether the cluster is active or not (green checkmark: the cluster is active; gray dash: the cluster is not active). Next to the icon, the cluster's name is displayed. The name is a combination of the cluster's import key and note text (if available). Clicking on one of the rows will open the respective cluster's editing menu on the right. If you have not selected a cluster, the editing menu for the first cluster in the list will be displayed.
The editing menu contains several tabs, which are described below:
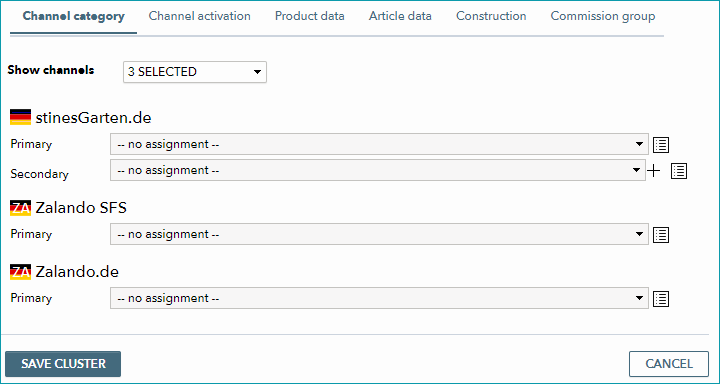
Tab "Channel category":
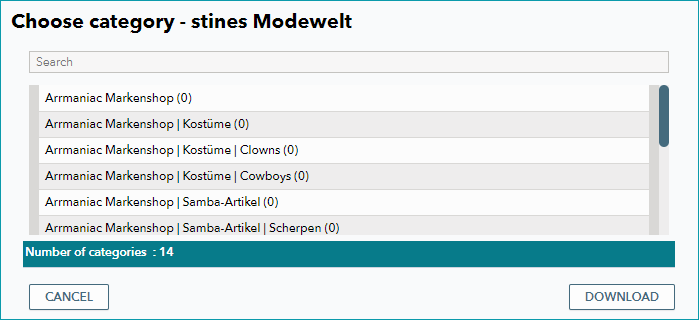
The editing menu opens on this tab. If you want to assign products to channel categories via this cluster, you can choose a primary category for each channel (and a secondary category for some). The name of the drop-down menu may vary from channel to channel, but it always specifies the category which forms the base for sorting your goods into the channel's shop navigation. The menus themselves may behave slightly differently for individual channels. The drop-down menu "Show channels" at the top of the list can be used to configure which channels are displayed in the menu. You can either select the category directly via the drop-down or open a list of all categories that are available for a channel via the list symbol (
The list can be filtered via the free text field "Search". By clicking on "Download" you can save the (filtered) list as an XLS file. If a new assignment is necessary for a channel, because the category is outdated, a warning icon will appear next to the channel's name. Once you are done configuring your settings, click on the button "Save cluster" at the bottom of the page. If you don't want to save your settings, click "Cancel". |
|---|
Tab "Channel activation":
On this tab, you can choose whether assigning the cluster to a product should activate or deactivate the product for a certain channel, or if the cluster should not change the activation status for that channel. In the list, you can configure the activation individually for each channel. |
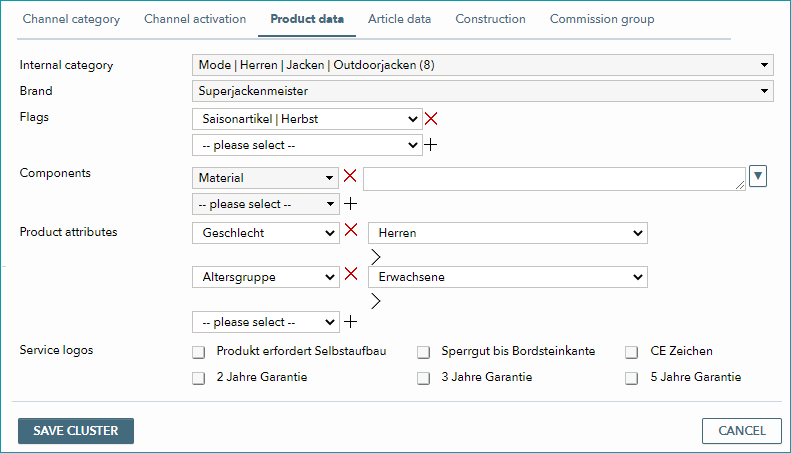
Tab "Product data":
Here, you can choose to assign an internal category via the clusters. Internal categories are similar to clusters and some of the assignment options overlap. You should plan how you want to use clusters and internal categories before you begin data maintenance. Below the field for the internal category, you can find additional drop-down menus for the assignment of a brand and one or more flags. Each time you select a flag, a new drop-down from which you can select an additional flag will appear. Click the red delete button ( If you want to assign product attributes via the cluster, you also need to assign values for each attribute. These values are predefined at "Basic data > Properties > Attributes". Any attribute can take multiple values; if you would like to assign more than one value to an attribute, click the arrow icon ( If you select an attribute, a new drop-down for the next attribute will open automatically. Use the delete button to remove attributes ( Don't forget to confirm your settings by clicking on "Save cluster" before you change the tab or leave the menu. |
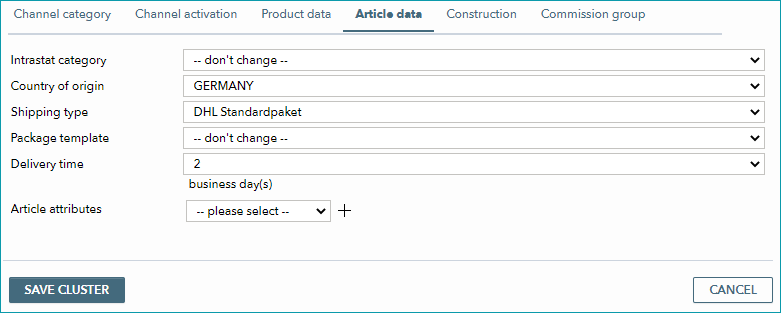
Tab "Article data":
You can use the drop-down menus to choose an Intrastat category, a country of origin, shipping type, package template and delivery time for assignment via the cluster. It is also possible to select one or multiple article attributes and the corresponding values. To do this, proceed in the same way you would for the product attributes (described above). Save your settings before changing the tab or leaving the menu. |
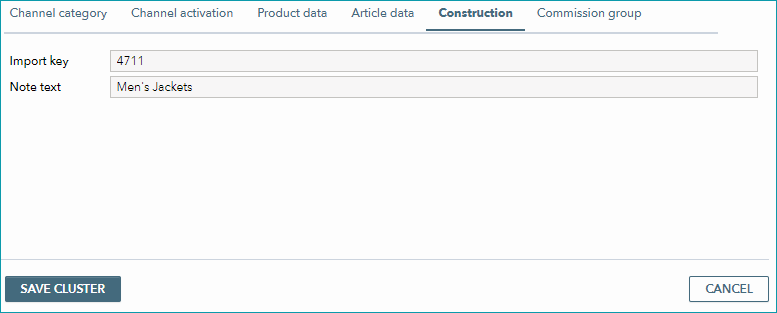
Tab "Construction":
Here, you can customize the import key and note text of the cluster. The cluster's name, which is displayed in the list on the left, is composed of these two elements. Remember to save if you change these values. |
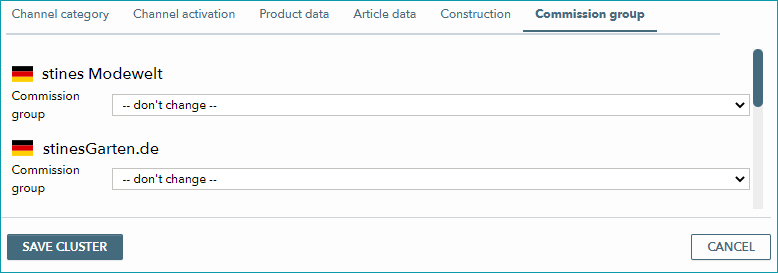
Tab "COMMISSION GROUP":
For all channels that work with commission groups, you can select a commission group from the drop-downs that will be assigned via the cluster. Save your settings before changing the tab or leaving the menu. |

To transfer any changes you make to your products, open the tab "Pages" in the left navigation bar and click on "Repeat assignment run".
For further information, see also:
•Assigning clusters manually
•Assigning clusters via CSV
•Assigning clusters via XML
•Comparison of internal categories and clusters
•Configuration of the application of internal clusters
•Overview of the cluster menu and its filters
•Defining clusters (overview)
•Bulk editing clusters
•Using clusters