TB.One > Product and Article Data > Manual Master Data Creation > Bulk Processing > List Articles
List Articles
The list article feature can be used to save time during manual master data maintenance. In contrast to the master article, the list article feature has effects across product boundaries.
TIP: |
The list article feature can be accessed via the option "Bulk editing". This feature can be found under "Articles > Article list". It generally affects all articles which are currently listed in the article list (the active filters are taken into account).
ATTENTION: Note that your filter settings can result in a list that may be several pages long! In this case, a page number drop-down will be displayed in the lower right corner. Changes made through bulk editing cannot be undone! |
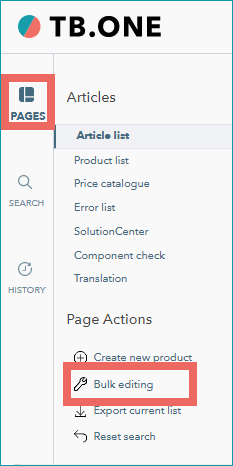
Select the tab "Pages" in the left navigation bar and click on "Bulk editing". A warning message will be displayed:
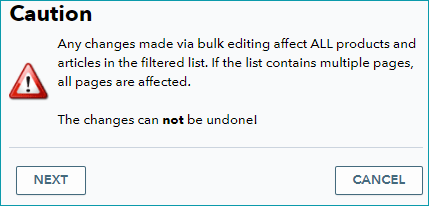
Confirm by clicking "Next", to open the bulk editing window. The following settings can be configured in this window:
ATTENTION: |
1. ACTIVATION
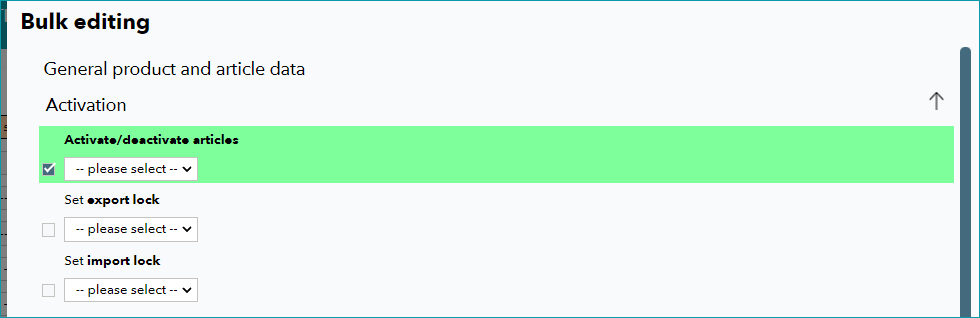
You can either activate or deactivate your filtered articles. If you set the export lock, your product will be deactivated for all channels. If you set the import lock, product data, variant data and article media will not be overwritten whenever product data is imported.
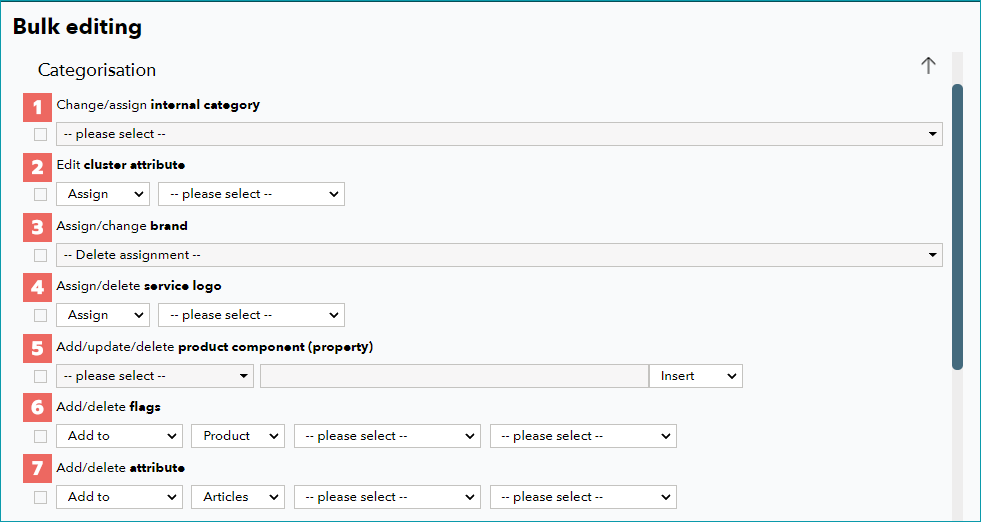
2. CATEGORISATION
FIELD |
SETTING |
|---|---|
|
You can either assign or switch the internal categories you created at "Basic data > Classification > Internal Categories". This will updates the assignment of all internal categories. |
|
clusters maintained under "Basic data > Classification > Cluster" can be assigned to or removed from the filtered articles. |
|
Brands maintained at "Basic data > Properties > Brands" can be assigned to the filtered articles or changed. Indicating a brand is mandatory for most channels |
|
You can assign or remove service logos that were created at "Basic data > Properties > Service Logos". |
|
Any product components that were created at "Basic data > Properties > Components" can be added, updated or removed. If you want to insert or update a product component, you need to fill in the free text field. The component will be added with the value specified in the free text field (or the current value will be replaced with that from the free text field). |
|
If you want to add or delete flags, you have to determine whether to do so on the product or article level. Then you have to choose the main category which contains the flag in question (created at "Basic data > Classification > Flags") and select the flag itself. |
|
If you want to add or delete attributes, you have to determine whether to do so on the product or article level. Then you have to select the attribute in question (created at "Basic data > Properties > Attributes) and choose an attribute value. |
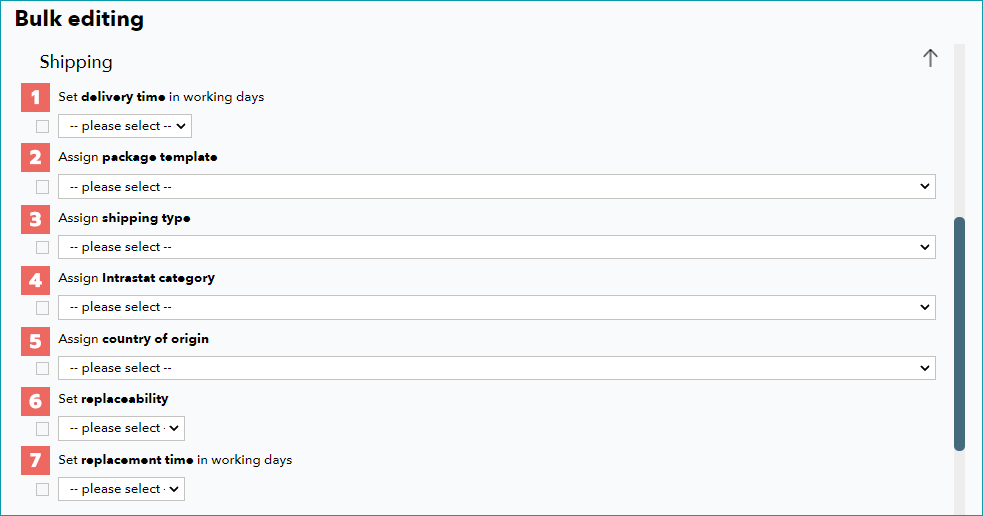
3. SHIPPING
FIELD |
SETTING |
|---|---|
|
If you change the delivery time in working days in this section, the delivery time of the filtered articles will be set to the new value. |
|
You can also change the package templates maintained at "Basic data > Shipping > Package templates" for your filtered articles. |
|
At "Basic data > Shipping > Shipping types" the shipping types are configured. They can be assigned to or changed for the filtered articles. |
|
Intrastat categories are created at "Basic data > Properties > Intrastat category". In the bulk editing window, you can assign the Intrastat categories to the filtered articles, or update them. |
|
You may assign a country of origin to the filtered articles. At "Basic data > Properties > Country codes" you can create and edit the country data. |
|
You can activate or deactivate replaceability for the filtered articles. |
|
If the replaceability is activated, you have to indicate the replacement time in working days. |
4. PRICE LISTS
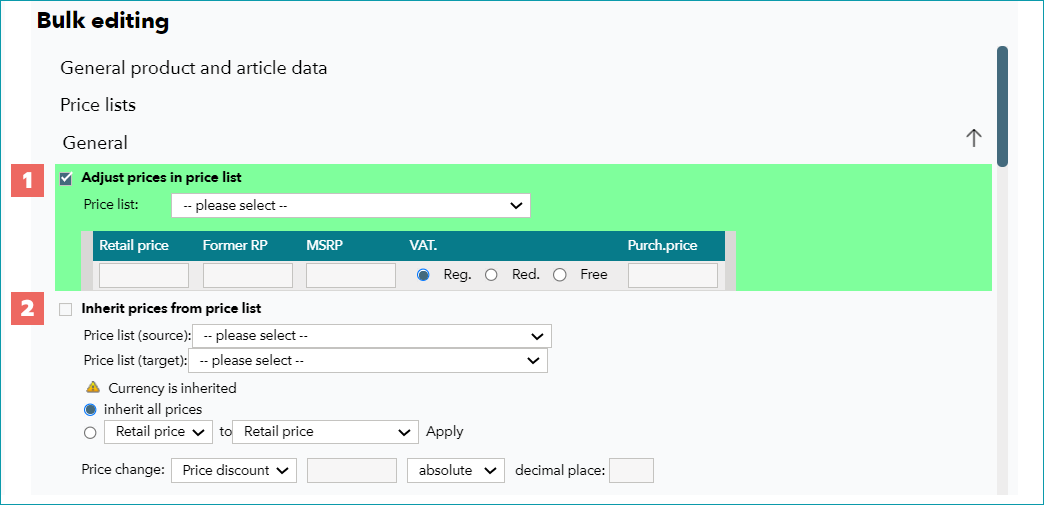
You have already created price lists via "Articles > Price catalogue". To transfer the price information for the data group, activate the checkbox and it will be highlighted in green. The drop-down selection allows you to add price lists and enter prices for the price lists.
If you activate the checkbox "Adjust prices in price list" (1), you can change the prices in the price list you have selected from the drop-down. Just enter the new prices in the free text fields for the three price types.
"Inherit prices from the price list" (2) allows you to transfer prices from a price list selected from the drop-down "Price list (source)" to another price list defined via the drop-down "Price list (target).
ATTENTION: Select the first radio button to "inherit all prices", or change the prices by selecting the second radio button. Use the drop-downs to copy the prices from one filed to another (e.g., move the "RP" to the field "Former RP" and add a surcharge or discount to the "Former RP"). Specify whether the price should be changed via percentage or as an absolute value. And define how many decimal places you want to calculate. |
5. CHANNEL SETTINGS
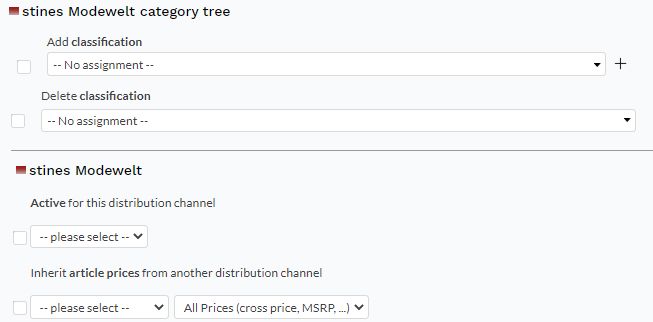
If you scroll down, you will see a section in which all your booked channels are listed. You can toggle the view for the channel details of each channel by clicking the arrow on the right.
In these sections, you can activate the products from the filtered list for individual channels (see "product activation"). Furthermore, you can assign channel categories to your filtered articles. Please keep the channel-specific requirements in mind, which are listed on each channel's pages in the section "Channel documentation".
You can configure the following settings for the channels:
Add/delete classification/primary and secondary category/commodity group...: Select the appropriate categorization from the drop-down list. You can also remove existing assignments. By activating the checkbox next to the lock icon, you indicate that the assignment cannot be overwritten.
Channel-specific activation: Via the checkbox "Active for this distribution channel" and its drop-down, you can determine whether the filtered products should be active on the selected channel.
For further information, see also:
•Manual master data creation - overview
•Bulk processing via the master article
•The article list menu